
How to Properly Freeze Food Without Ruining the Taste or Texture
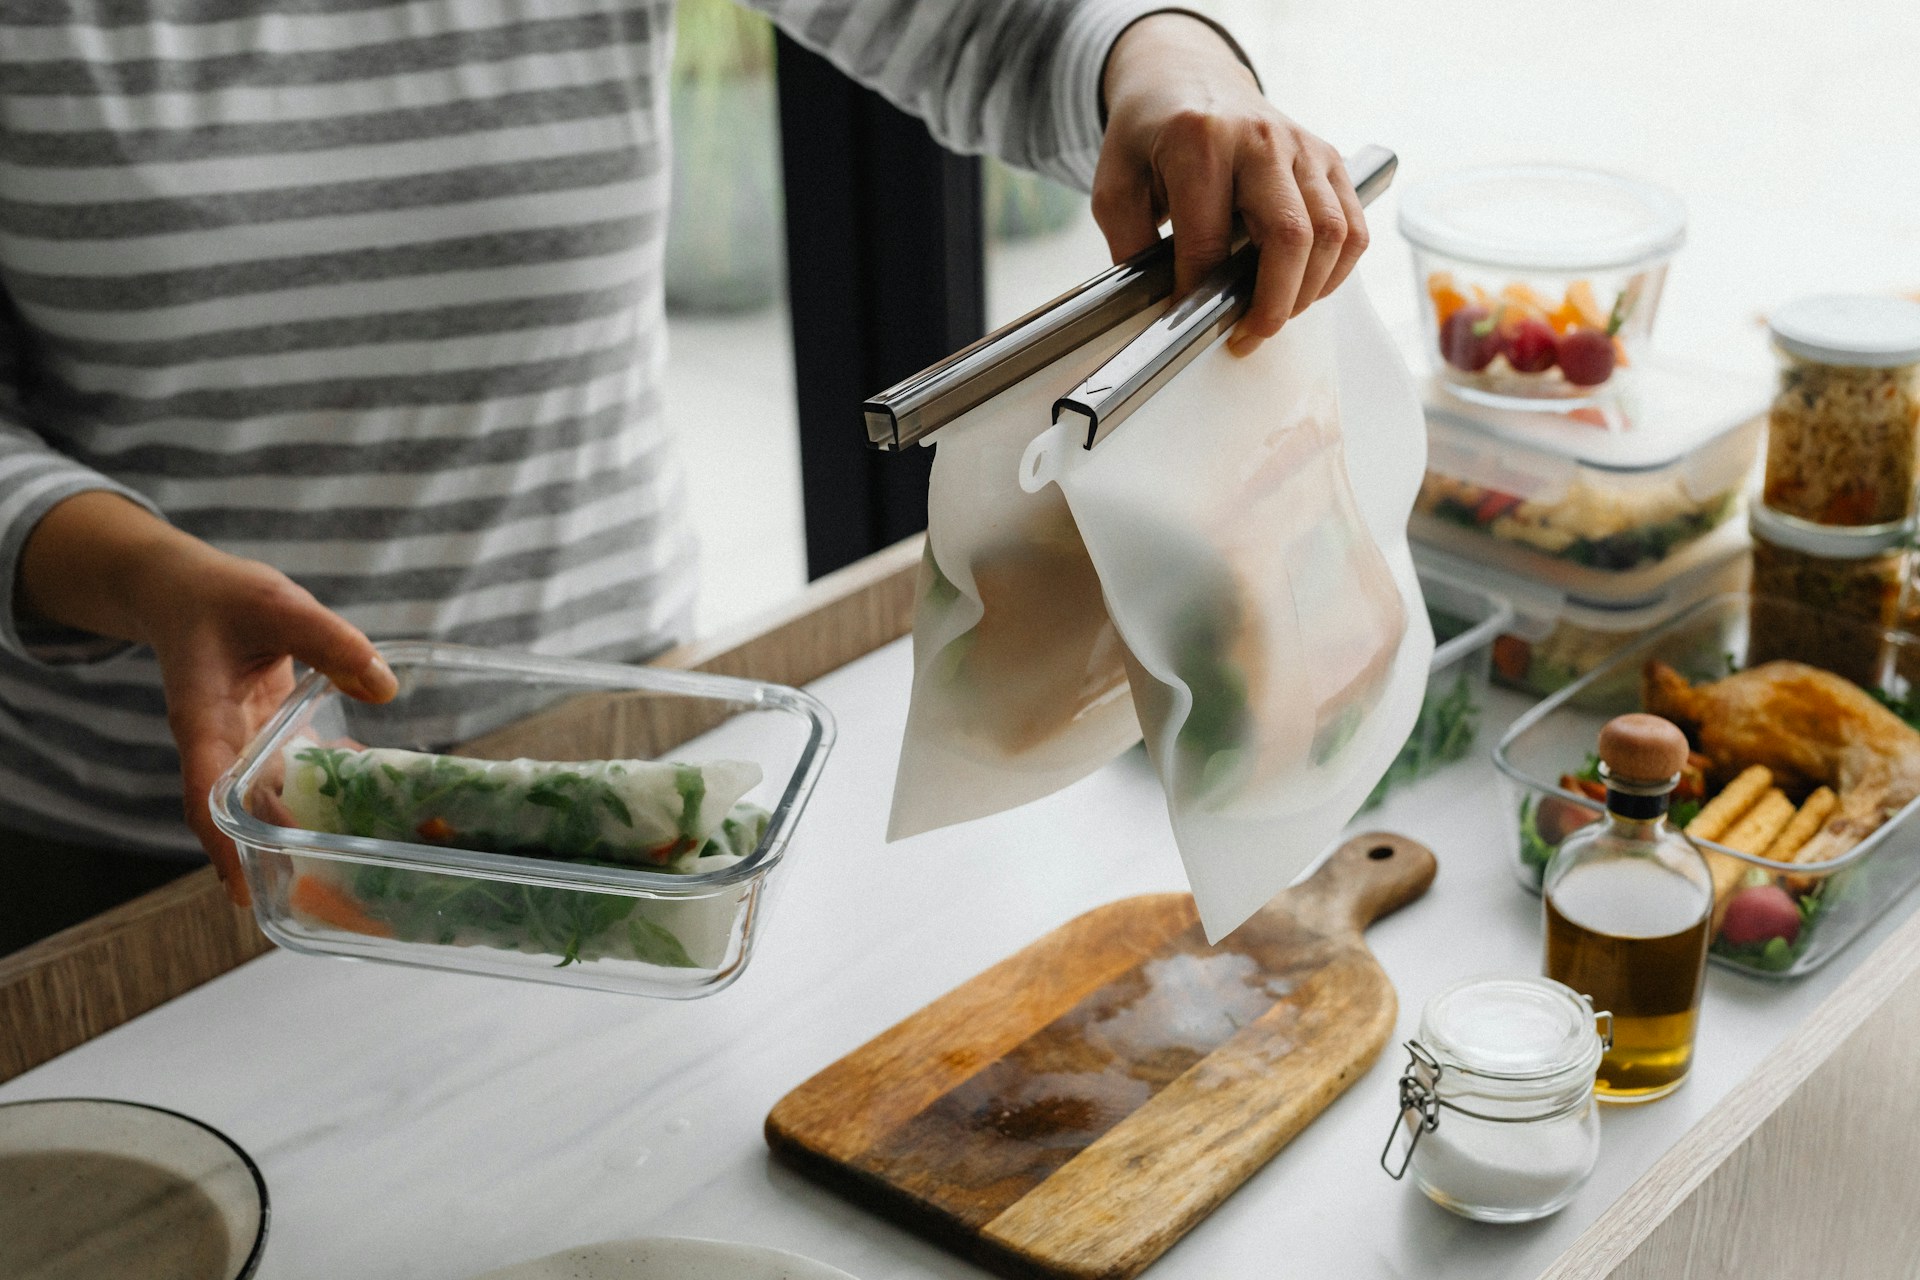
You know the bag. It’s tucked in the back of the freezer, coated in frost, and whatever’s inside has turned gray around the edges. Maybe it was chicken? Maybe it was soup?
Learning how to freeze food properly sounds like overkill. It’s the easiest job in the kitchen, right? Not quite. How you prep, wrap, and store things makes a big difference in what comes back out. You don’t need fancy gear or a Pinterest-worthy freezer. A few simple habits do most of the work.
Here’s how to freeze food so it actually tastes good when you thaw it.
The Short Version
- Freeze food while it is fresh. The freezer won’t fix food that’s already fading.
- Air causes freezer burn, so squeeze it out or vacuum seal.
- Portion food the way you’ll eat it, freeze it flat, and label everything.
- Blanch most veggies and flash-freeze berries so they keep their texture.
In This Article
Start With Food That Is Still Fresh
Freezing preserves food. It doesn’t fix it. Soft strawberries go in soft and come out softer. Chicken that’s been sitting in the fridge for four days won’t taste any better after a month on ice.
So freeze food while it’s still at its best. If you can tell you won’t get through a carton of berries or a bunch of herbs this week, freeze them now, not on day six.
The same goes for meat. If you grabbed the family pack because it was on sale, portion out what you won’t cook in the next day or two and freeze it right away instead of letting the whole package sit in the fridge first.
Cool Cooked Food Before Freezing It
Leftovers are made for the freezer, but a steaming pot of chili shouldn’t go straight in. It warms up everything around it and freezes slowly, and slow freezing means bigger ice crystals and mushier food.
Instead, split hot food into smaller, shallow containers so it cools quickly. Get it into the fridge within two hours, then move it to the freezer once it’s cold. This works especially well for:
- Chili
- Soup
- Stew
- Pasta sauce
- Cooked rice
- Casseroles
- Shredded meats
Bonus: you’ll never again have to chisel one serving off a six-serving brick.
Remove as Much Air as Possible
Air is what causes freezer burn. It pulls moisture out of the surface of your food and leaves those dry, grayish-white patches behind. The less air in the package, the less damage.
For food you’ll use in the next few weeks, a good freezer bag is fine. Put the food in, flatten the bag, and press out as much air as you can before sealing it. Try this trick: seal the bag almost all the way, then slowly lower it into a bowl of water. The water pushes the air out through the gap. Seal it right before the opening goes under.
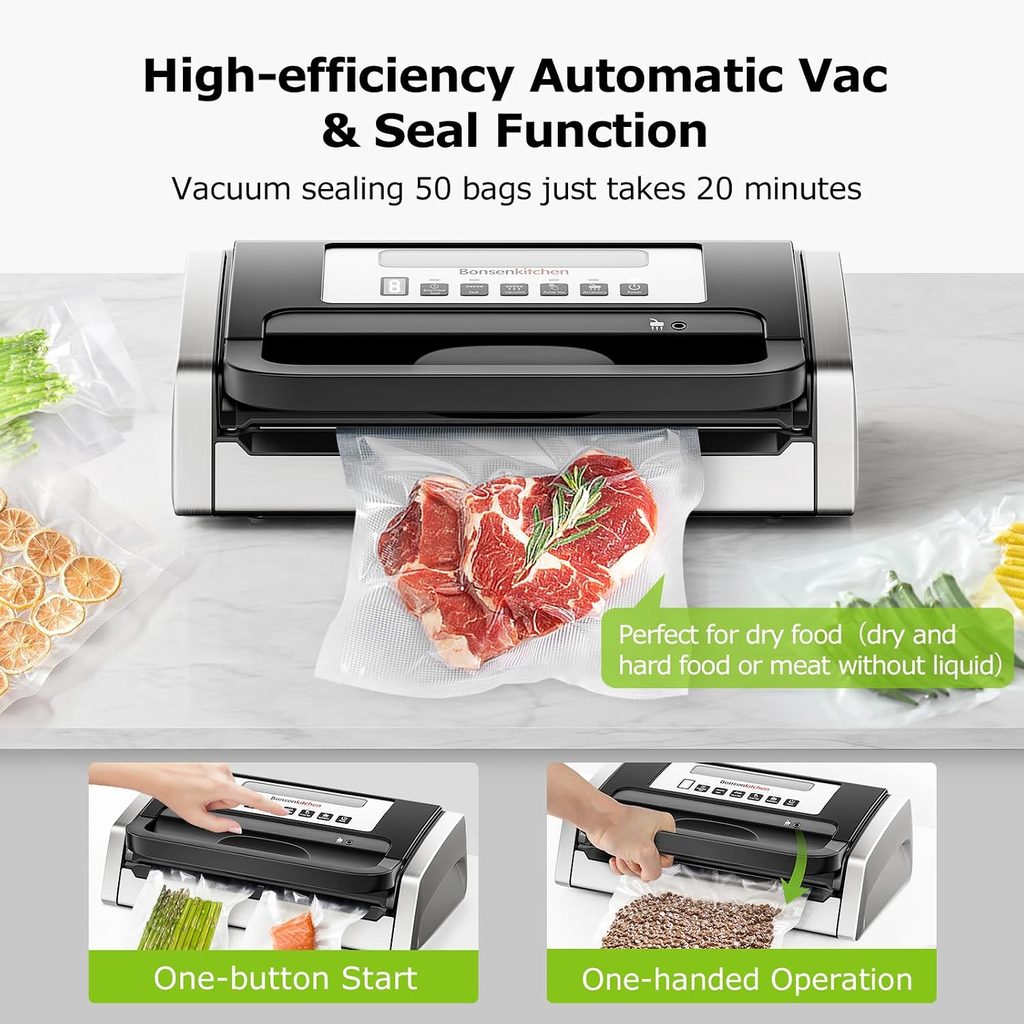
For anything you want to keep longer, vacuum sealing is worth it.
A vacuum sealer removes much of the air surrounding the food before creating a tight seal. This can be especially convenient for meat, fish, bulk grocery purchases, meal-prepped ingredients, and foods that tend to sit in the freezer for more than a few weeks.
Vacuum-sealed packs also lie flat and stack neatly, so they take up a lot less room than bulky containers.
You don’t have to vacuum seal everything. But when you want something to taste fresh three or six months from now, it’s the best tool you’ve got.
Use the Right Container for the Food
Not every food needs the same packaging. Here’s a quick cheat sheet:
| Packaging | Best for | Good to know |
|---|---|---|
| Freezer bags | Meat, chopped veggies, fruit, soups, sauces | Freeze them flat to save space |
| Vacuum-sealed bags | Meat, fish, bulk buys, anything stored long-term | Removes the most air, so it is your best defense against freezer burn |
| Rigid plastic containers | Leftovers, casseroles, foods that crush easily | Stack well; check they are microwave-safe before reheating |
| Freezer-safe glass | Soups, meal prep, reheat-and-eat meals | Leave about an inch at the top since liquids expand as they freeze |
| Plastic wrap or foil, then a bag | Bread, muffins, cookies, baked goods | The double layer keeps them from drying out |
Freeze Food in Portions You’ll Actually Use
Freezing everything in family-size portions is how you end up thawing way more than you need.
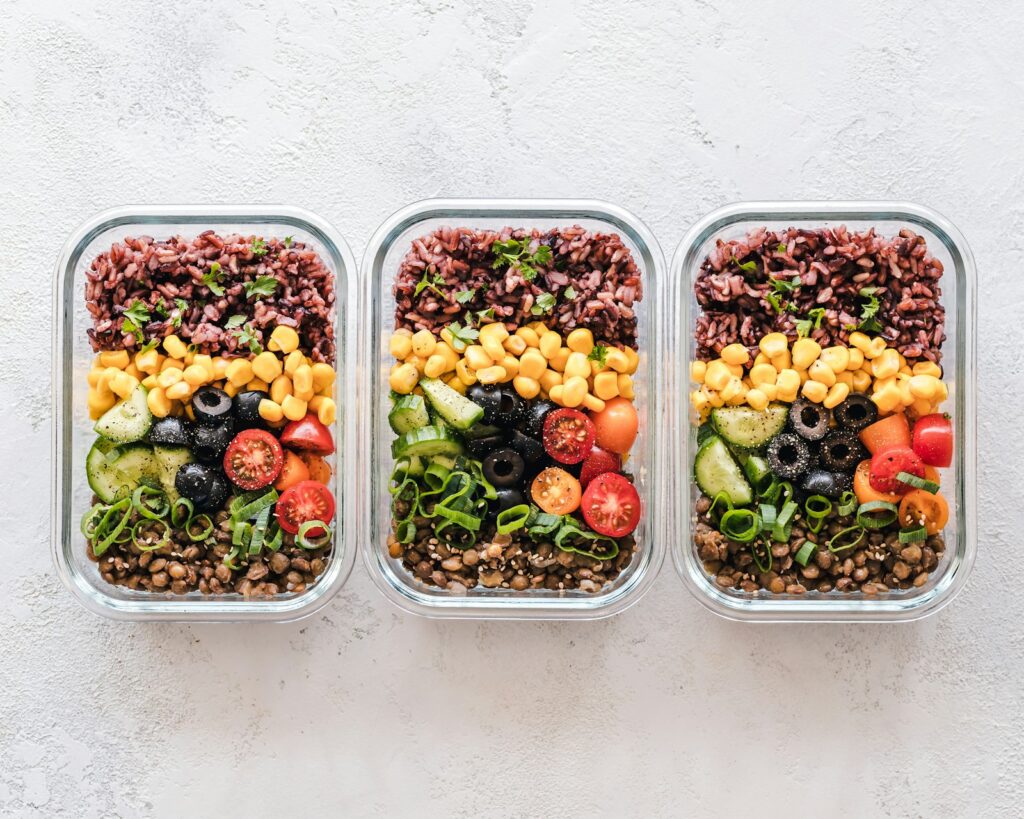
Think about how you’ll use it later. Wrap chicken breasts one or two at a time instead of five to a bag. Split a big pot of soup into lunch-size containers. Freeze ground beef in the amount your go-to recipe calls for, stack burger patties with parchment paper between them, and slice bread before it goes in so you can grab two pieces at a time.
The goal is simple: only thaw what you’re going to eat.
Read Now: The Importance of a Sharp, High-Quality Kitchen Knife
Freeze Foods Flat Whenever Possible
This one feels almost too easy. Pour soups, sauces, marinades, or ground meat into freezer bags, squeeze out the air, and lay them flat on a baking sheet until they’re frozen solid.
Once they’re frozen, stand them up like files in a drawer or stack them like books. They take up less room, and thin packs thaw a lot faster than a solid tub.
Read Now: Why Charcoal Grilling Still Hits Different
Blanch Certain Vegetables First
Many vegetables freeze better if you blanch them first.
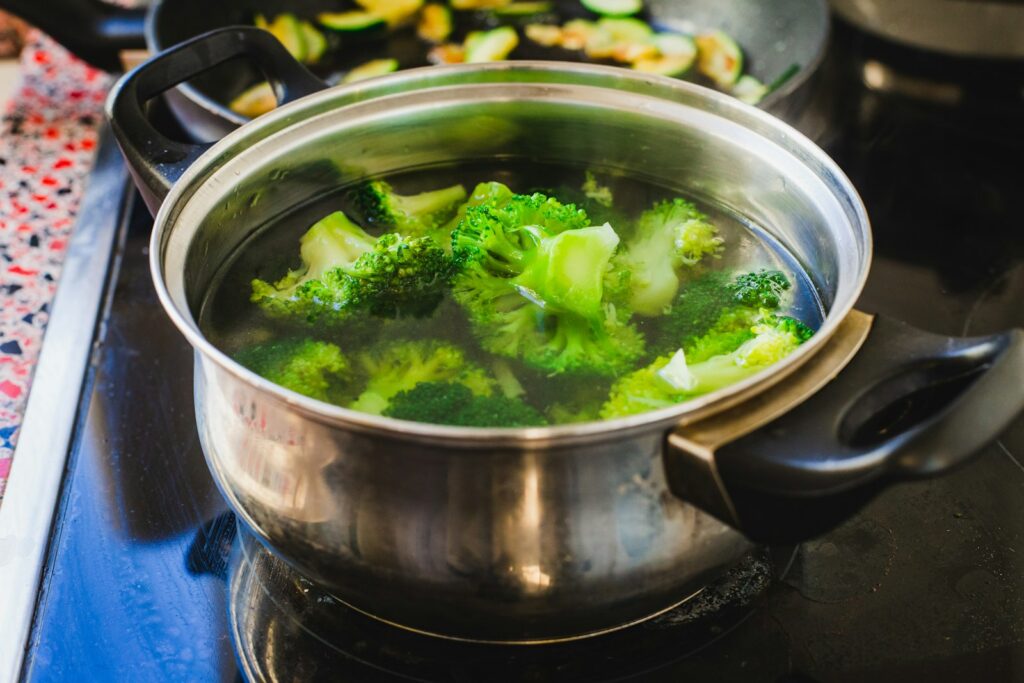
Blanching is a quick dip in boiling water followed by an ice bath. It stops the natural enzymes that would otherwise dull the color, flavor, and texture of your veggies while they sit in the freezer.
Timing matters. Start the clock once the water comes back to a boil, then move the vegetables into ice water for about the same amount of time.
| Vegetable | Blanching time |
|---|---|
| Broccoli florets | 3 minutes |
| Green beans | 3 minutes |
| Carrots, sliced or diced | 2 minutes |
| Carrots, small whole | 5 minutes |
| Green peas | 1½ to 2 minutes |
| Spinach | 2 minutes |
| Kale or collards | 3 minutes |
| Corn on the cob | 7 to 11 minutes, depending on size |
After the ice bath, drain the vegetables and pat them dry. Any water left on the surface just turns into ice. Then bag them, vacuum seal them, or flash-freeze them first (more on that next).
Flash-Freeze Foods That Tend to Stick Together
Ever frozen a bag of berries and ended up with one giant purple iceberg?
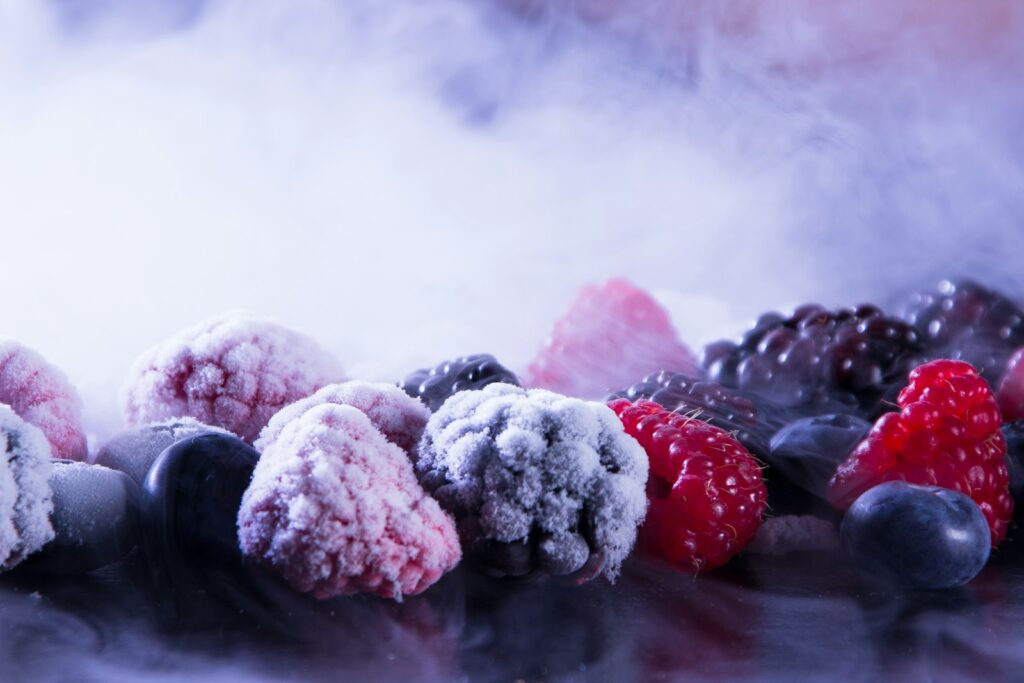
Flash freezing fixes that. Spread the food in a single layer on a parchment-lined baking sheet and freeze it until firm, usually an hour or two. Then move everything into a bag or container. Since each piece froze on its own, they stay separate, and you can grab exactly what you need.
It works great for:
- Berries
- Sliced fruit
- Cookie dough
- Meatballs
- Dumplings
- Chopped vegetables
- Individual pieces of chicken
Label Everything
You think you’ll remember what’s in that container. You won’t.
After a month, tomato sauce, chili, taco meat, and that thing you made on a random Tuesday all start to look the same. Write the name and the date on every package. For meal-prep dishes, add quick reheating notes too.
Labels also make it easy to rotate: older food moves to the front, newer food goes in the back, and nothing sits forgotten until next year.
Not sure how long is too long? Food kept at 0°F stays safe indefinitely, but the quality slowly fades. Here’s roughly how long things taste their best, based on FoodSafety.gov guidelines:
| Food | Best quality within |
|---|---|
| Raw chicken, whole | 1 year |
| Raw chicken, pieces | 9 months |
| Steaks, chops, and roasts | 4 to 12 months |
| Ground meat | 3 to 4 months |
| Cooked meat or poultry leftovers | 2 to 6 months |
| Soups and stews | 2 to 3 months |
| Lean fish, like cod | 6 to 8 months |
| Fatty fish, like salmon | 2 to 3 months |
| Bacon | 1 month |
Don’t Overload the Freezer All at Once
Your freezer works by moving cold air around. Pack in a huge load of room-temperature food at once and the temperature inside climbs, so everything freezes more slowly, including what was already in there.
After a big grocery run or meal-prep day, spread new items out in a single layer with a little space around them. Once they’re frozen solid, you can pack them in tight.
Keep Your Freezer Organized
You don’t need a picture-perfect freezer with matching bins, but a little order keeps food from disappearing.
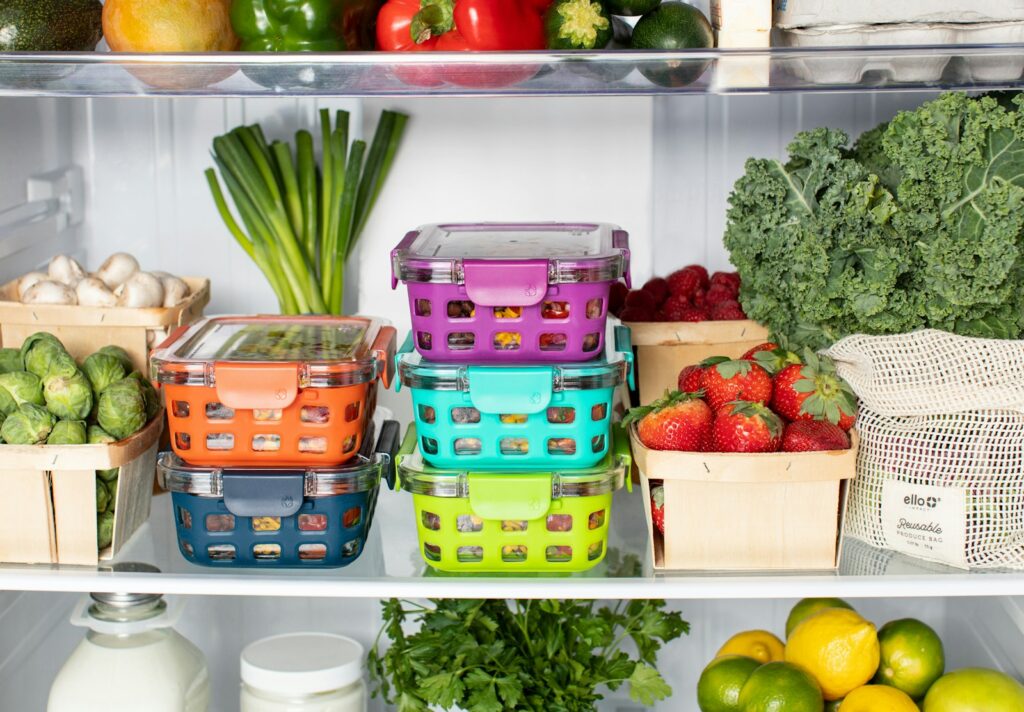
Give each type of food its own zone: one for meat and seafood, one for fruits and veggies, one for leftovers, and one for bread and ready-made meals. Bins or baskets help, but even a dedicated shelf works.
When like goes with like, you can see what you have at a glance before you buy a third bag of frozen peas. And your freezer becomes something you actually shop from, not a graveyard for mystery containers.
Remember That Freezing Changes Some Foods
You can freeze food of almost any kind, but not everything comes out the same. Different doesn’t have to mean ruined, though. Usually it just means using it differently.
| Food | What happens | How to use it |
|---|---|---|
| Fresh berries | Soft and juicy once thawed | Smoothies, sauces, oatmeal, baking |
| Lettuce and cucumbers | Limp and watery | Best kept out of the freezer |
| Cream-based sauces | Can separate | Whisk well while reheating |
| Raw potatoes | Grainy or watery texture | Freeze them cooked, like mashed or roasted |
| Hard cheese | Turns crumbly | Shred it for cooked dishes |
| Bananas | Skins turn black, fruit goes soft | Banana bread and smoothies |
It mostly comes down to knowing how you’ll use the food once it comes out.
How to Freeze Food: FAQs
Can you refreeze food after it thaws?
Yes, if it thawed in the refrigerator. You may lose a little quality from moisture loss, but it is safe. Food thawed in cold water or the microwave should be cooked first, and then it can go back in the freezer.
Is freezer-burned food safe to eat?
Yes. Freezer burn affects quality, not safety. Those dry, grayish-brown spots are just dehydrated food. Trim them off before or after cooking. If a whole package is badly burned, toss it for taste reasons.
What temperature should my freezer be?
0°F (-18°C) or colder. A cheap freezer thermometer is the easiest way to know for sure, especially after a power outage.
Can I freeze meat in the package it came in?
For a month or two, yes. Store wrap lets air in, though, so for longer storage, overwrap it with heavy-duty foil or freezer paper, put it in a freezer bag, or vacuum seal it.
What is the safest way to thaw frozen food?
In the refrigerator, in cold water (sealed in a leak-proof bag, changing the water every 30 minutes), or in the microwave. Cook food thawed in cold water or the microwave right away. Never thaw food on the counter.
A Better Freezer Means Less Food Waste
The real payoff of knowing how to freeze food the right way isn’t a perfectly organized freezer. It’s getting to eat more of the food you already paid for.
That chicken you weren’t going to finish becomes next week’s dinner. Overripe bananas become banana bread. One big batch of soup turns into a week of easy lunches.
Freeze food while it’s fresh, get the air out (and vacuum seal what you want to keep longest), portion it the way you’ll actually eat it, and label everything. Do that, and your freezer stops being the place leftovers go to be forgotten. It starts working like a second pantry that saves you time and money every week.
